Installation Guide
Follow these steps to enable high-quality OCR and Speech-to-Text functionalities on your Windows system.
1. Installing OCR Language Packs (For both Movie Translate and Visual Novel Translate)
Optical Character Recognition (OCR) allows Movie Translate and Visual Novel Translate to "read" text from your screen. For the best performance and privacy, we recommend using the Windows Built-in OCR engine.
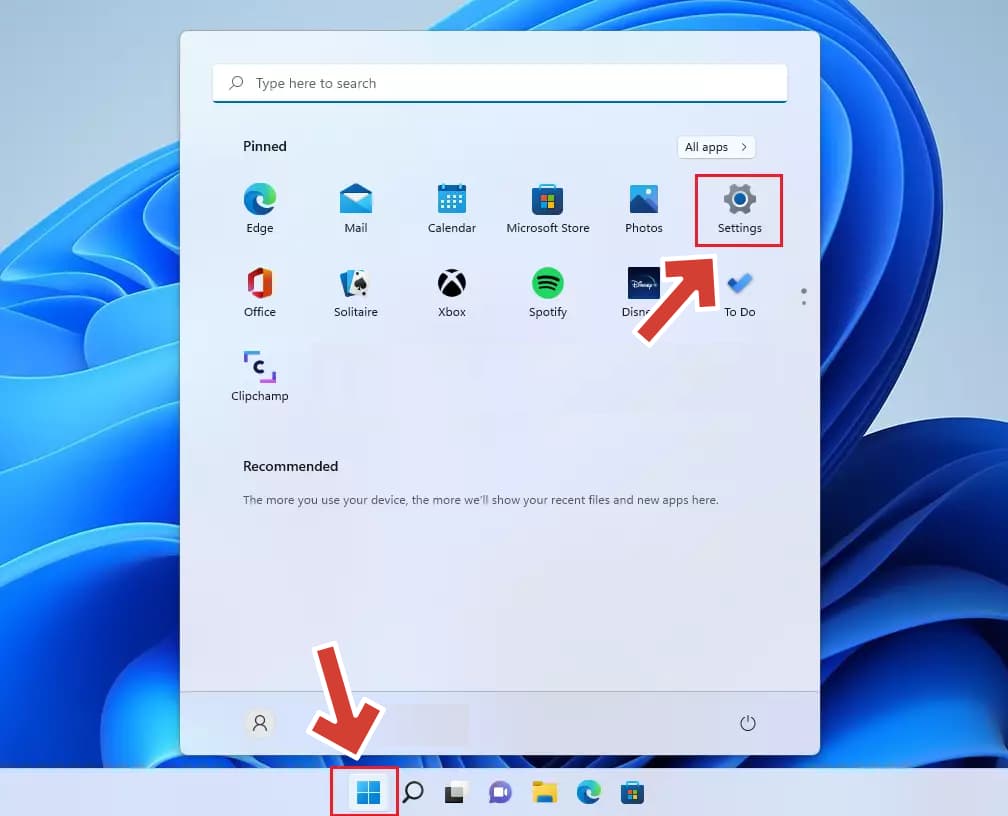
Press Win + I on your keyboard, or click the Start button and select Settings.
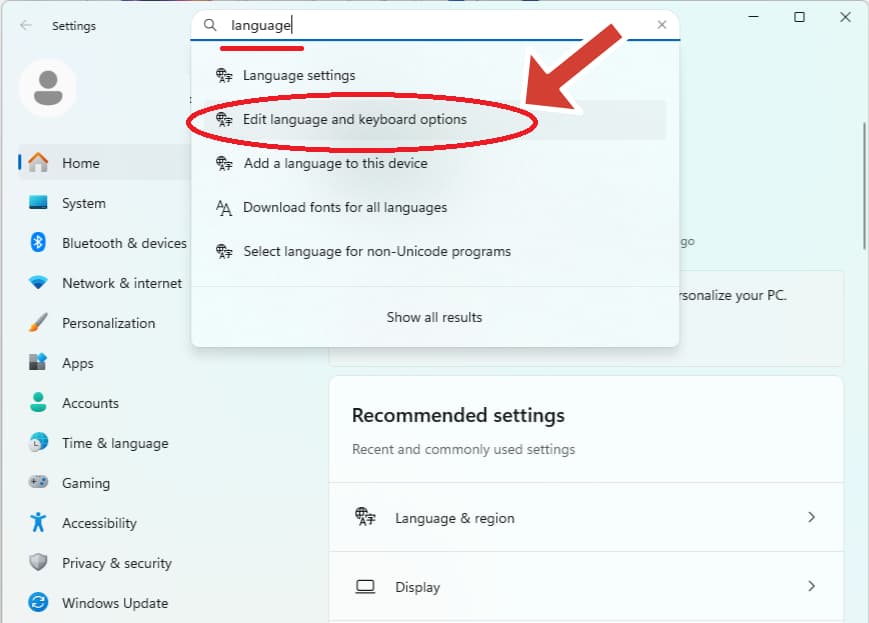
Go to Time & Language > Language & Region (or Region & Language on Windows 10).
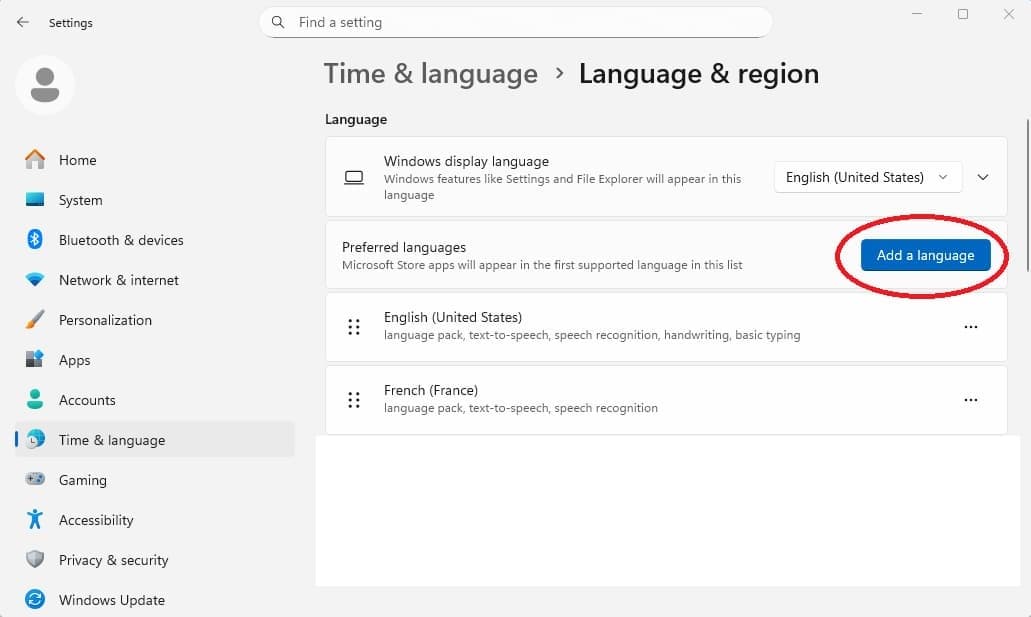
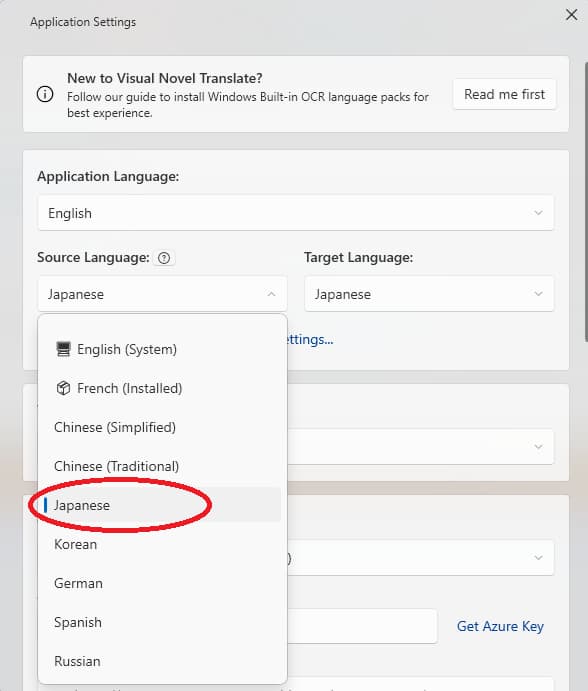
Click the Add a language button. Search for the language you want to translate from (e.g., Japanese, Chinese, German).
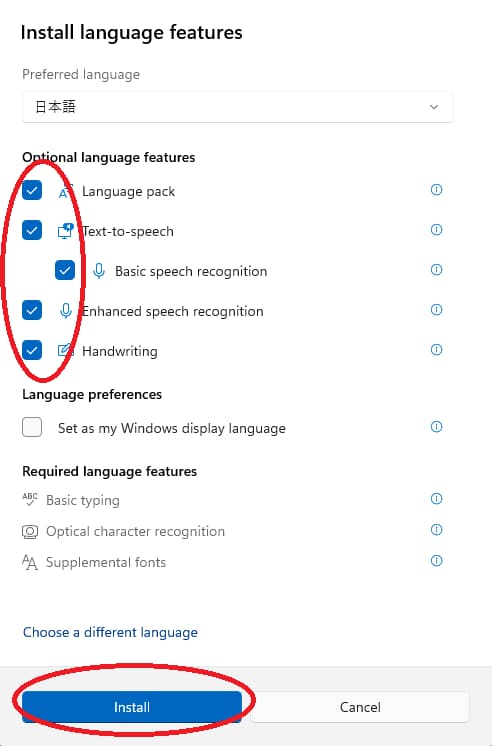
Let’s say you want to translate Japanese, please select Japanese from the list and then click Next.
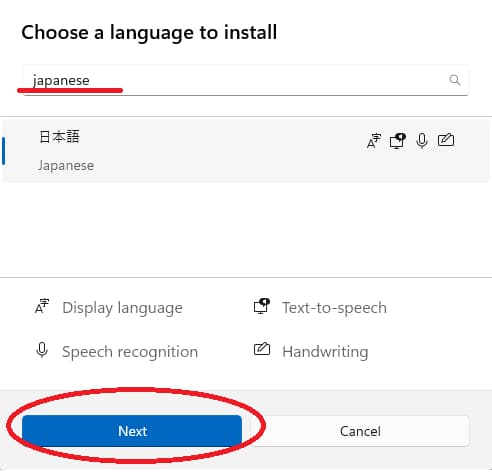
When installing, ensure the Optical Character Recognition checkbox is checked. You don't need to set it as your Windows display language.
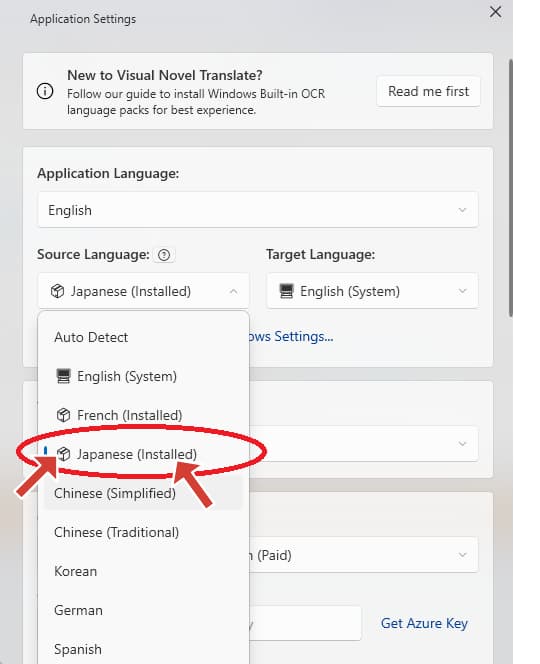
Once the language is successfully installed, you will notice the status icon has changed in the source/target language list:
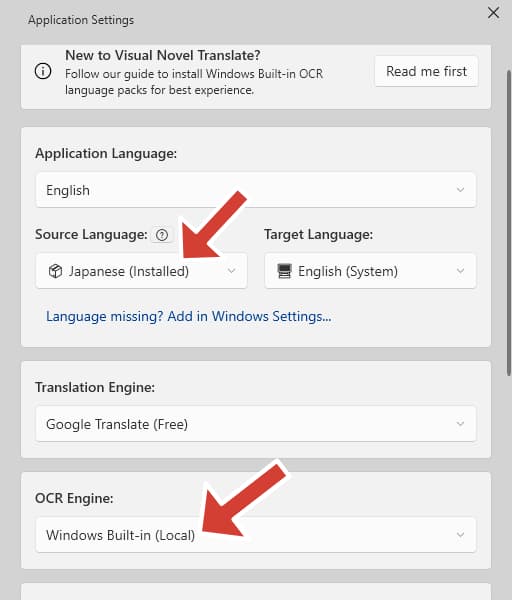
In the application settings, set your Source Language to the language you just installed, and ensure the OCR Engine is set to "Windows Built-in (Local)".
2. Enabling Speech-to-Text (Live Captions - Only for Movie Translate)
Live Captioning (exclusive to Movie Translate) leverages the Windows 11 Live Captions feature to capture and translate system audio in real-time.
Press Win + Ctrl + L to open the Windows Live Captions bar.
The first time you use it, Windows will prompt you to download the speech recognition model for your preferred language. This is a one-time download.
Once Live Captions are active, click the 🎬 icon in the Movie Translate floating menu. The application will automatically detect and sync with the caption area.